Sternenstaub im Album: Die Magie astronomie-inspirierter Briefmarkensammlungen
Ausgewähltes Thema: Astronomie-inspirierte Briefmarkensammlungen. Tauche ein in Geschichten, Fakten und Sammlerfreuden rund um kosmische Motive, die Himmelskarten, Missionen und Sternenmythen im Kleinformat lebendig machen. Abonniere, teile, entdecke – und sammle mit Herz.
Meilensteine: Die Geschichte der Astronomie auf Briefmarken
Frühe Ausgaben feierten Sternkarten, Finsternisse und Observatorien. Sie kombinierten präzise Gravur mit didaktischer Eleganz und machten komplexe Himmelsmechanik für Sammlerinnen und Sammler sichtbar und sammelbar.
Meilensteine: Die Geschichte der Astronomie auf Briefmarken
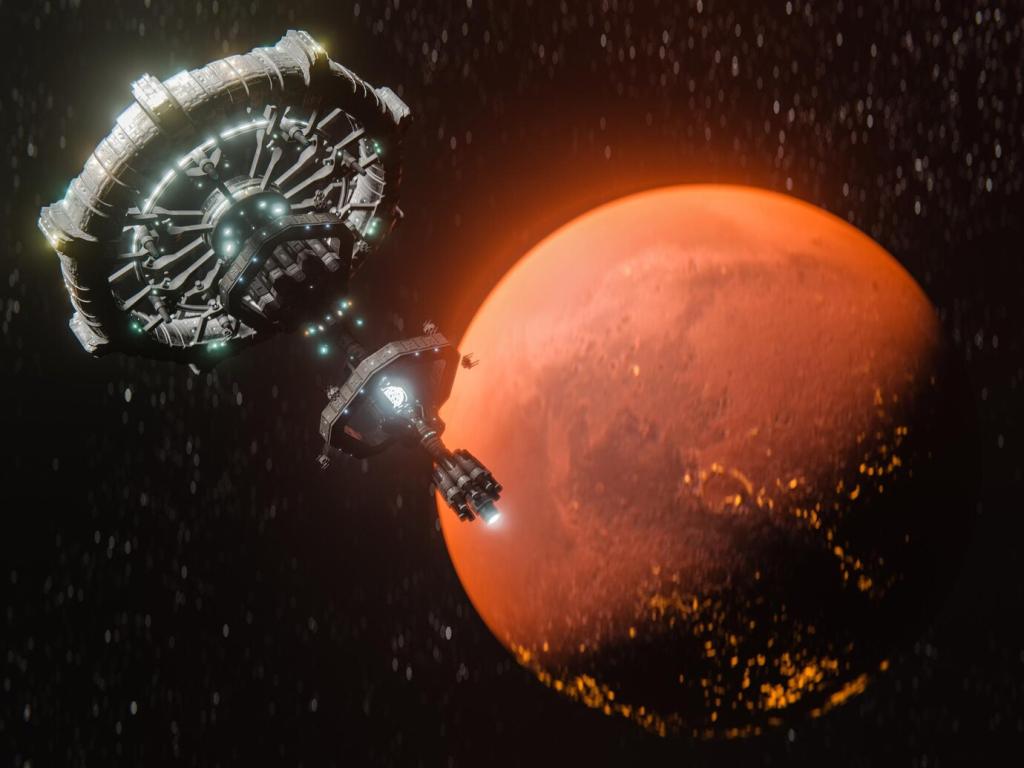
Mit Gagarin, Apollo 11 und Luna-Sonden begann ein ikonisches Kapitel. Marken trugen Triumphgefühle über Grenzen, illustrierten Technik und Hoffnung, und ließen den Wettlauf zum Mond in Alben fortleben.
Sammeln mit System: Kuratieren, dokumentieren, genießen
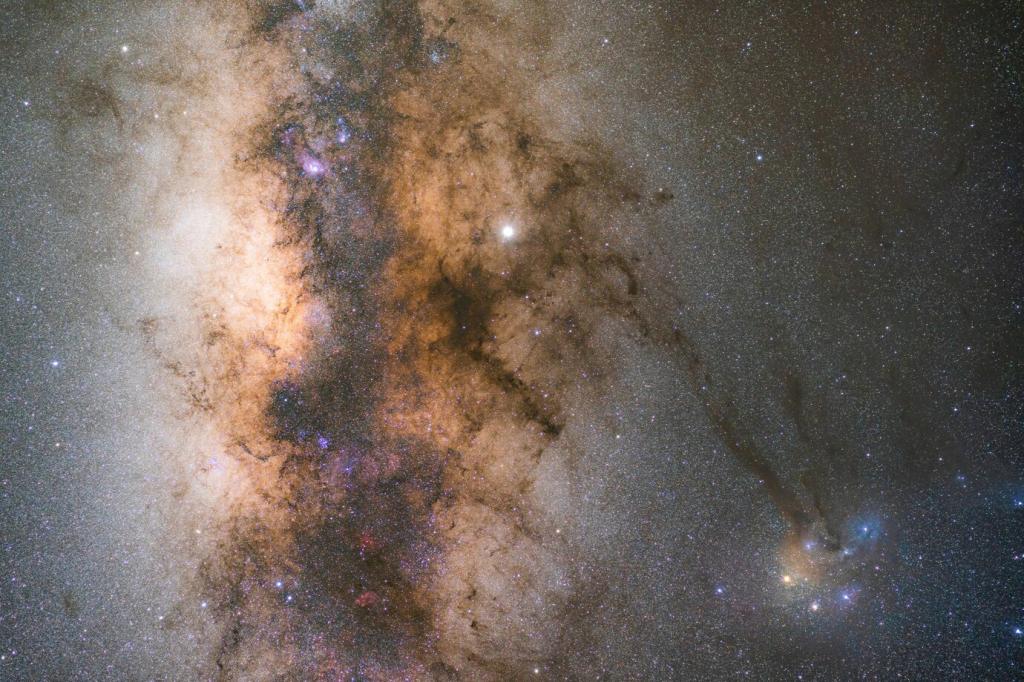
Grenze genau ein: Sternbilder des Südhalbkugel-Himmels, Missionen bis 1979, oder nur Marken mit realen Teleskopaufnahmen. So wächst Expertise, und jedes neue Stück erzählt gezielt eine Geschichte.
Sammeln mit System: Kuratieren, dokumentieren, genießen
Nutze Katalognummern, Herkunftsnachweise und kurze Anmerkungen zu Motiv, Drucktechnik und Ausgabeanlass. Deine Notizen machen das Album zu einem Forschungsjournal, nicht nur zu einem Schatzkasten.
Licht, Klima und Materialien
Vermeide direkte Sonne, nutze säurefreie Hüllen und achte auf konstante Luftfeuchtigkeit. Klarsichthüllen aus Archivkunststoff bewahren Farbe, Gummierung und feine Linien vor Zeit und Zufall.
Zähnung, Stempel und Gummierung lesen
Zähnungsmaße, Stempelpositionen und Gummierungsarten sind unverzichtbare Hinweise. Eine scheinbar kleine Abweichung kann eine seltene Variante markieren oder auf eine Nachauflage hindeuten.
Fälschungen sicher erkennen
Vergleiche Druckraster, Papierglanz und Mikrodruck. Seriöse Prüfsignaturen und Expertiseberichte geben Ruhe. Teile verdächtige Funde in der Community, um gemeinsam Wissen und Sicherheit aufzubauen.
Design unter Sternen: Bildsprachen der Kosmos-Motive
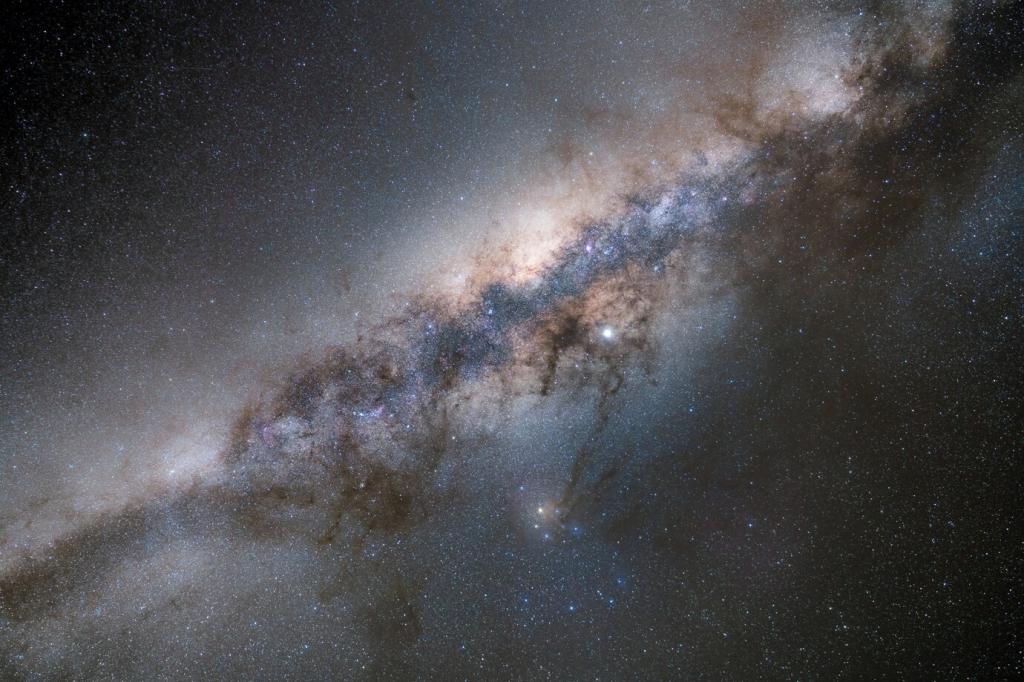
Gestalter nutzen reduzierte Linien für Sternbilder, feine Koordinaten und Legenden. Ein minimalistischer Orion kann stärker wirken als ein überfrachtetes Panorama, wenn Präzision und Rhythmus stimmen.
Organisiere einen astronomischen Thementausch. Bringe Dubletten, Wunschlisten und Fragen mit. Oft findet jemand genau das fehlende Puzzleteil, von dem du gar nicht wusstest, dass du es suchst.